


I blogged about my new handmade dress very briefly the other day, and didn't really get to finish that thought because, well, I'd spent my whole day making a dress and forgot to do anything else important, and then suddenly was very busy and had to do ALL these things. So anyway, here's a proper blog post about my new dress (WHICH I MADE MYSELF, YAAAY!)


Triangle keyhole cut out on the back... which was necessary because I couldn't get the dress on otherwise due to tightness around the top part. I think I shall cover it up with a big bow though ;)

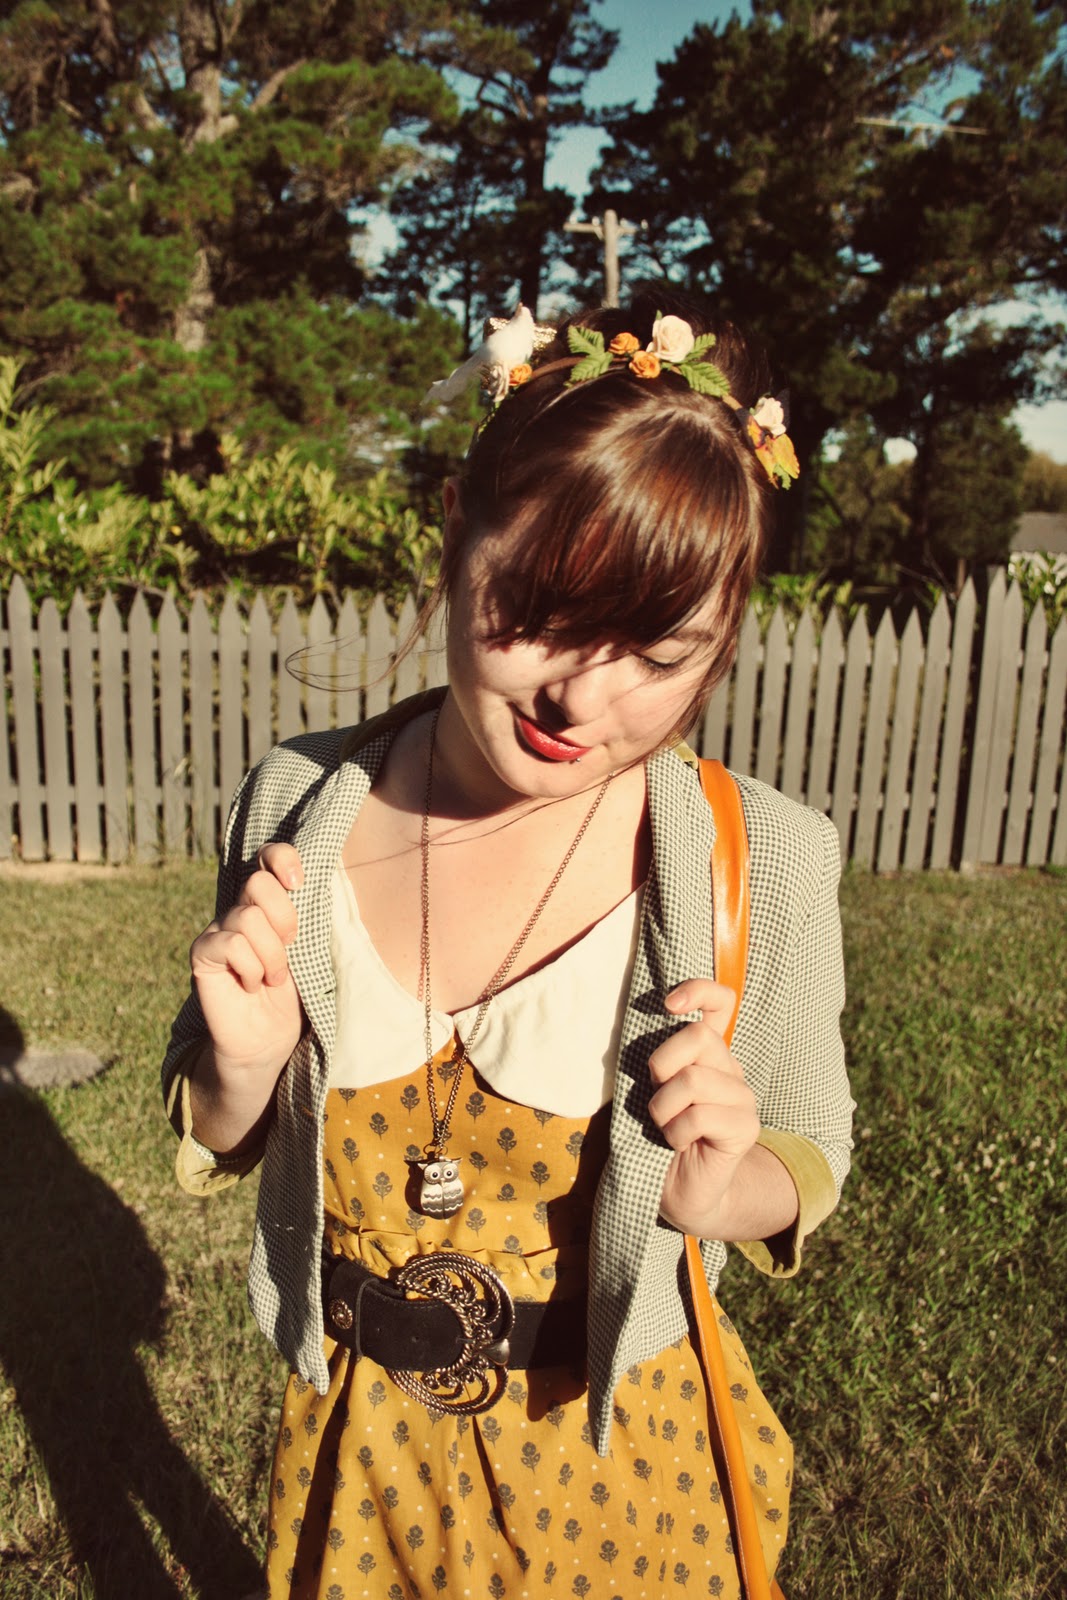
Wearing:
Dress - handmade, fabric from Spotlight, vintage mustard thread.
Belt - Vintage
Green Blazer - Vintage
Shoes - Yesstyle.com
Tights - Forever 21
Bag - Wholesale-dress
Floral Headband - Handmade, given to me as a gift
Owl necklace- Wholesale-dress
This is how I made it.
The original plan was just to make a skirt, so I started off with this:


The two big parts are identical in size, and will make the front and back of the skirt. The smaller piece is for the waistband.
I then hemmed the bottom of each big piece of fabric an inch (on the 33in side).

Then I added pleats. I didn't take a picture of this step with this skirt, but I did with ANOTHER skirt I made (so that is why the fabric in these pictures has suddenly morphed). You make pleats like this:

fold fabric together and pin


sew along the pleat

remove pins and repeat along the whole length of fabric
I then sewed the skirt together on both ends (along the 18in end) the wrong way around, then turned it inside out.
For the waistband, I folded the fabric in half lengthways (the wrong way around), and sewed along the edge.

I then attached the waistband to the front of the skirt by pinning and then sewing the pieces together.
I had some leftover fabric then, so I decided to make a top part and if it worked out, to sew it to the skirt. I can't really tell you what I did here, because I just made it up as I went along, and forgot to take pictures!! Also, it really didn't work out so well, because I forgot that I have breasts, and didn't leave any room for them. So the dress is very, very tight around the bust, and I wouldn't recommend using this pattern to anyone. But basically, for the top part I used a pattern something like this:

And sewed it together everywhere except the neck and armholes. I them hemmed the neck and armholes. Then I just kind of attached it to the waistband of the skirt, and hey ho, I had a dress!
And then I added a peter pan collar too :) The steps for this are too long for this blog post! But I will write a separate blog post JUST on how to make peter pan collars and attach them to dresses. In detail. I will! I promise. Watch this space.
Annika xxx

I think you are pretty amazing. I would LOVE MYSELF TO DEATH if I could make stuff like that!
ReplyDelete:):):) thanks so much Tallulah! I'm so into sewing right now!! Can you tell? Hahaha.
ReplyDeleteTHANK YOU! This is so amazing! I am definitely going to give this a try! I will let you know how it goes!
ReplyDeleteOh mah goodness! SO excited I found your blog. Just got a sewing machine for Christmas and can't wait to get to the level you're at. This dress is absolutely adorable. I'm a fan.
ReplyDeletewhosthisani.blogspot.com
Thank you everyone! And I only got my sewing machine at Christmas as well, I've just been slaving over it hahaha. Glad to know I already seem so pro though! :)
ReplyDeletesuch a creative idea! <3 that mustard color looks great on u! <3
ReplyDeleteMy Fashion Blog: Strawberriespls
You made this dress???? I LOVE the back of it! You're so talented. I also really love your tights :)
ReplyDeleteMabel
Mabel Time
ooww i love your little jacket :)
ReplyDeleteWow!! Just found out your AMAZING blog! Thanks for this great pattern, I'm gonna try it right awya! :) You are SOOOO funny!
ReplyDeleteThanks! :)
ReplyDeleteIs it alright for me to share your creations on SSB, linking and letting you know when?
https://facebook.com/sassysewingbees
Of course it is, as long as I am linked and credited! Thanks for asking me :)
DeleteThanks. Yes I always link it is the purpose of the post. I will keep you posted.
ReplyDelete